
If you’ve gone into the realm of PC building, you’ve no doubt heard of thermal paste.
This substance is also known as thermal grease, heat paste, CPU paste, thermal gel, and thermal interface material (TIM), among other names.
Whatever you name it, the accurate thermal paste application is vital to ensure your CPU is running correctly.
That’s why it’s crucial to know how it works and how to apply it while dealing with a CPU effectively.
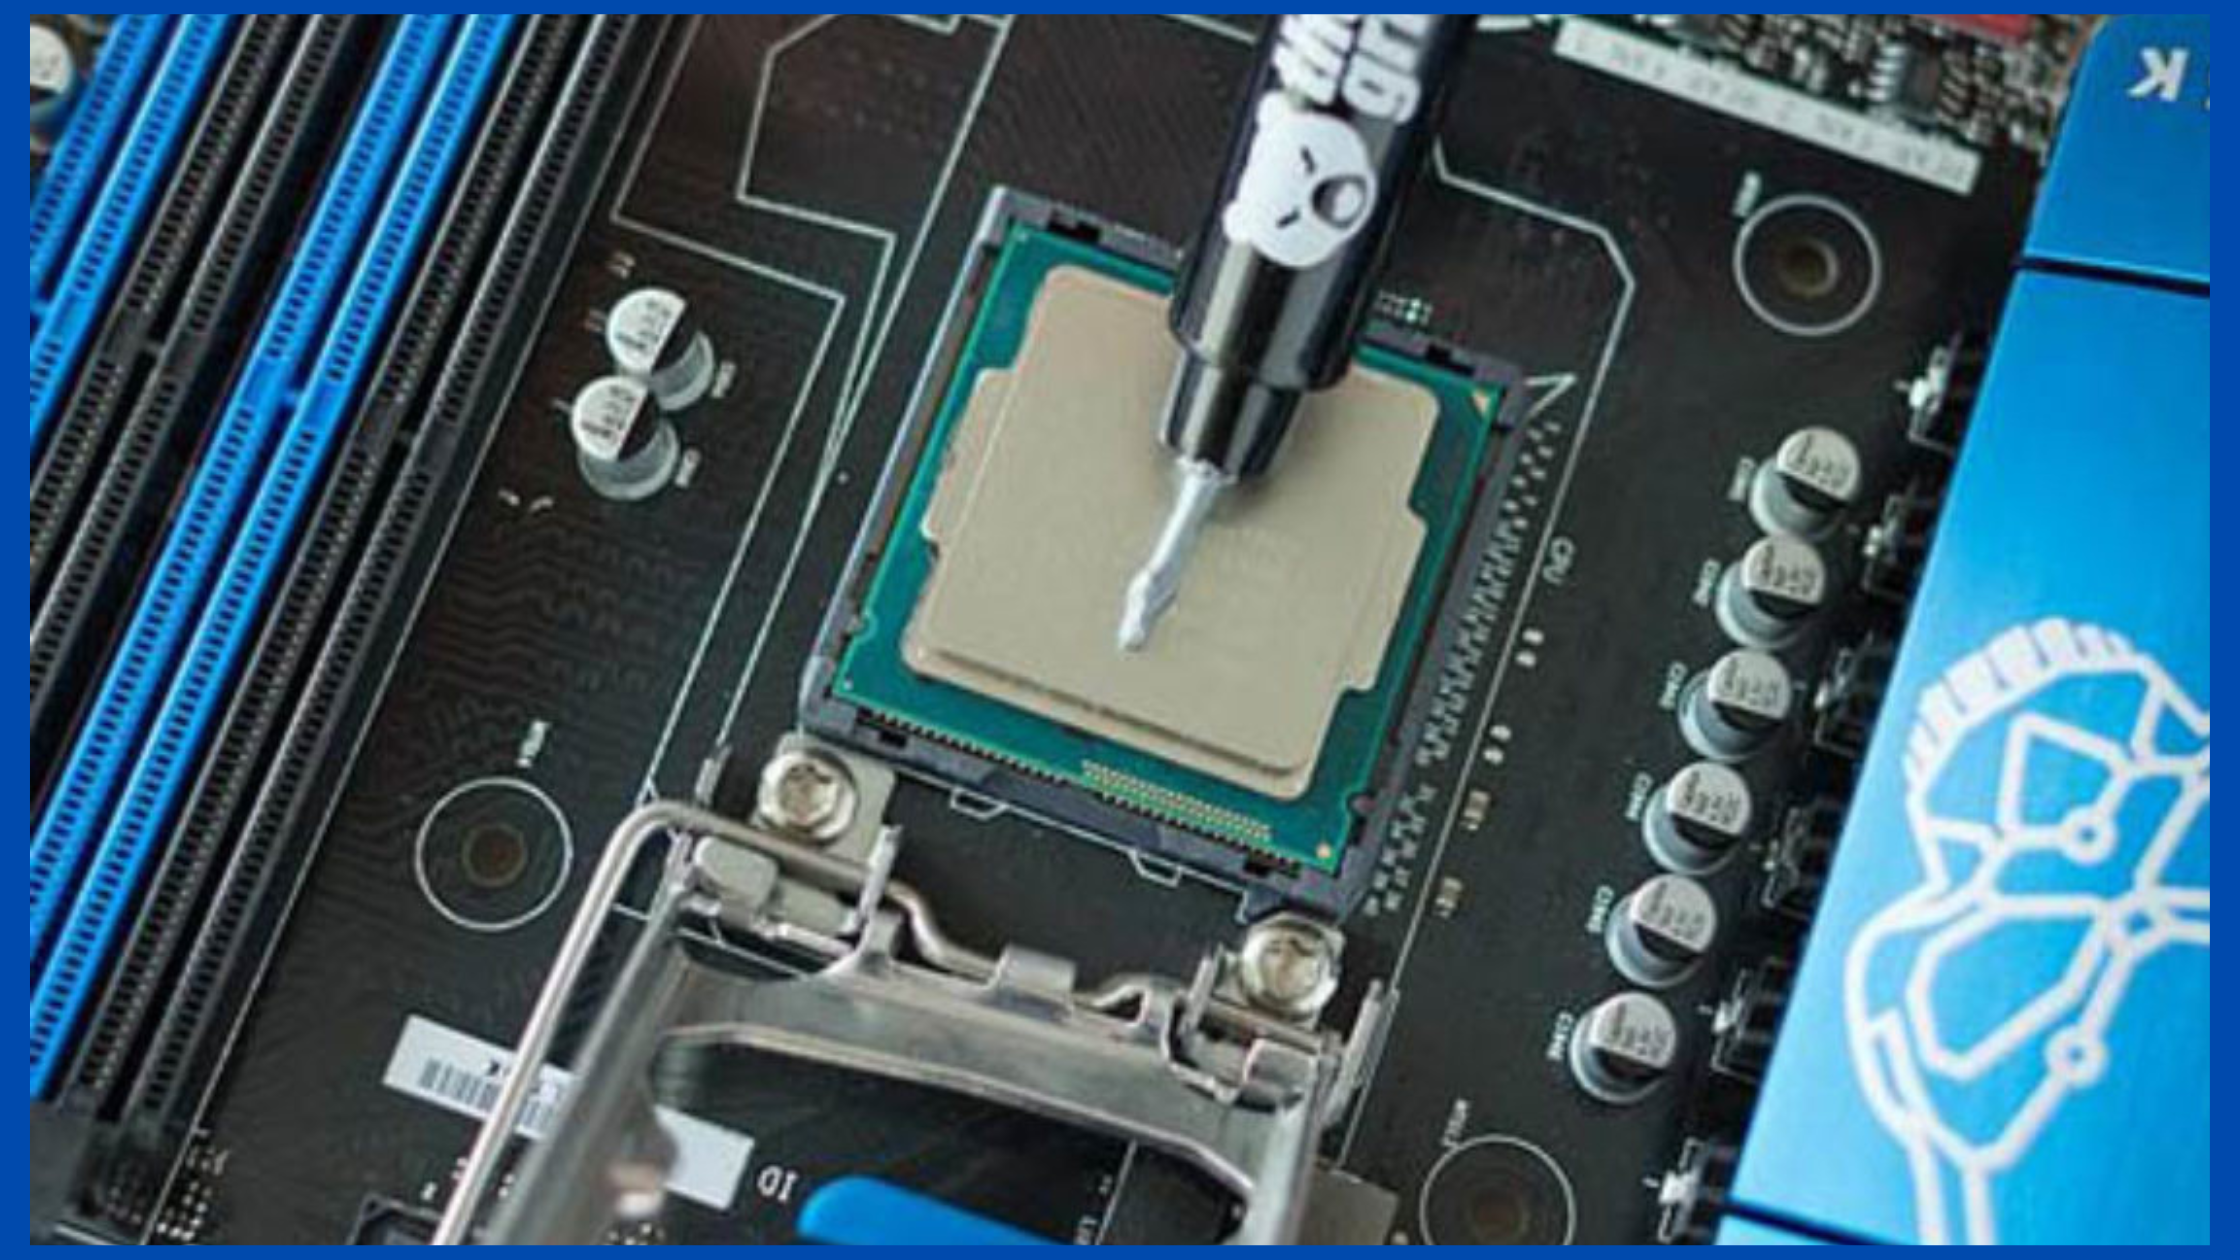
Squeeze a little quantity of thermal paste onto the center of the CPU.
A little dot a few millimeters in diameter is all that is required. If you go too far, your performance will suffer.
No bigger than a grain of rice or two. In this article, you will learn how to apply thermal paste to a CPU in to to. But first, let’s get to see the reason why you need to add thermal paste to your computer CpU.
Why Do You Need Thermal Paste?
Although the metal base of the CPU cooler and the CPU’s IHS seem smooth to the human eye, these metal plates contain slight flaws that may result in poor heat transmission.
Because the two surfaces aren’t entirely in touch due to the irregularities, thermal paste fills the air spaces, providing more effective heat transmission.
The thermal paste helps your CPU cooler do its job, and a cooler CPU implies fewer possible performance concerns, such as throttling.
- Preventing the CPU from properly cooling.
- Because the old thermal paste might leave air bubbles or might be dry enough already once you remove the CPU cooler from the CPU.
When should you Apply Thermal Paste?
When installing any cooling system, the thermal transfer material is employed. When most people think about thermal paste in the context of PC construction, they’re generally thinking of the process of installing a CPU cooler.
For example, the thermal solution is already built-in when you purchase a graphics card. Unless you’re interested in aftermarket solutions like bespoke liquid cooling, you shouldn’t have to bother about installing a cooler onto a GPU.
With a CPU cooler, you may choose the one you want, but you’ll almost always have to install it yourself.
How to Apply Thermal Paste to CPU step by step.
We suggest you go through this whole section before starting the installation process to know what to anticipate and prepare ahead.
- · Preparing the Surface
- · Read all relevant instructions before starting
- · Clean the CPU and heat sink surfaces
- · Sand the heat sink and processor surface
- · Apply the thermal paste onto the center of the CPU’s IHS.
- · Install CPU cooler.
- · Reconnect the fan to the motherboard
- · Double-check your work
- · Boot the system altogether
1. Preparing the Surface and Get ready to get started.
Select a suitable thermal paste. Most simple thermal greases comprise silicon and zinc oxide, while more costly formulations include heat conductors such as silver or ceramic.
Silver or ceramic thermal oils improve heat transfer efficiency. However, the primary thermal grease will be enough for most applications.
")
2. Read all relevant instructions before starting
It includes the CPU cooler and thermal paste that came with it.
So every brand of thermal paste and CPU cooler is somewhat different, and knowing your specifics of yours before you begin will make the process go more smoothly.
3. Clean the CPU and heat sink surfaces area
Wipe the surface gently with an isopropyl alcohol-dampened cotton ball or cotton swab.
The greater the alcohol concentration, the better. 70% is OK, while 90% is preferable (if you can find it).
4. Sand the heat sink and processor surface
The thermal paste would be unnecessary if the two surfaces that come into contact were flat.
You may smooth it down using fine grit paper or emery cloth. It isn’t essential unless you want the best cooling performance possible.
5. Apply the thermal paste onto the center of the CPU’s IHS.
If your cooler already has thermal paste applied, you may skip this step.
Apply a little quantity around the size of a grain of rice or pea to the center of the integrated heat spreader.
6. Install CPU cooler.
Place the base plate or water block of your cooler onto the CPU with light, top-down pressure, and keep that pressure while connecting the cooler to the mounting mechanism.
You’ll need to apply enough effort to prevent the cooler from slipping and uniformly spread the thermal paste, but not so much that you bend the motherboard or harm the CPU.
Keep the cooler in place while you connect it to the motherboard in a diagonal arrangement, fastening the screws (if you are using a screw mechanism) as if you were drawing an “X” with them.
To ensure uniform pressure, do not completely tighten the screws until you have connected all four, then spin each a few times before going on to the next.
7. Reconnect the fan to the motherboard
It would help if you hooked the CPU fan wire into the CPU fan socket because it contains the PWM feature, enabling the computer to change the fan speed without changing the voltage automatically.
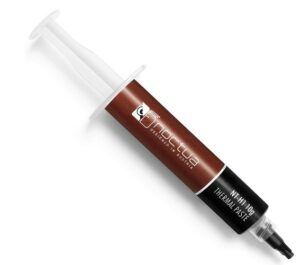
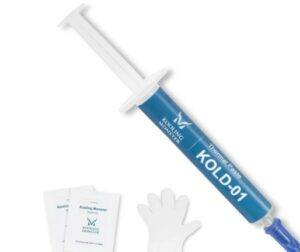
Here is some premium quality thermal past that you can go for:
| IMAGE & DISC | PRICE LINK |
|
|
View the current price here on amazon |
|
|
View the current price here on amazon |
|
|
View the current price here on amazon |

8. Double-check your work
Once the CPU cooler’s base plate or water block is securely mounted, double-check your work to make everything is in order.
Thermal paste should not be pouring over the sides of the CPU or anyplace on the motherboard.
If there is, it signifies you applied too much paste and should clean it with alcohol before repeating the process.
Congratulations if everything seems clean, and the cooler does not move when touched. You’ve finished this crucial step.
Related Article:
What Are Some Ways to Lower My CPU’s Temperature?(Explained)
9. Boot the system altogether
Check sure the fan is spinning. During POST, hit the F1 or Del key to enter the BIOS.
Check the temperature; the CPU temperature should be less than 40 degrees Celsius while idle, and the GPU temperature should be the same.
How Often Should You Replace Thermal Paste?
Most of the time, you shouldn’t need to reapply paste more than once per few years. However, you should replace it if you remove your cooler for whatever reason.
If your CPU temps are rising, you may want to try reapplying thermal paste. If in doubt, ask the thermal paste manufacturer and follow their guidelines.
Conclusion:
You may not address the thermal paste as often as gaming gear such as the CPU or GPU, but keeping such components operating at peak performance is essential.
Knowing how to correctly apply thermal paste might help you get the most excellent performance out of your CPU.